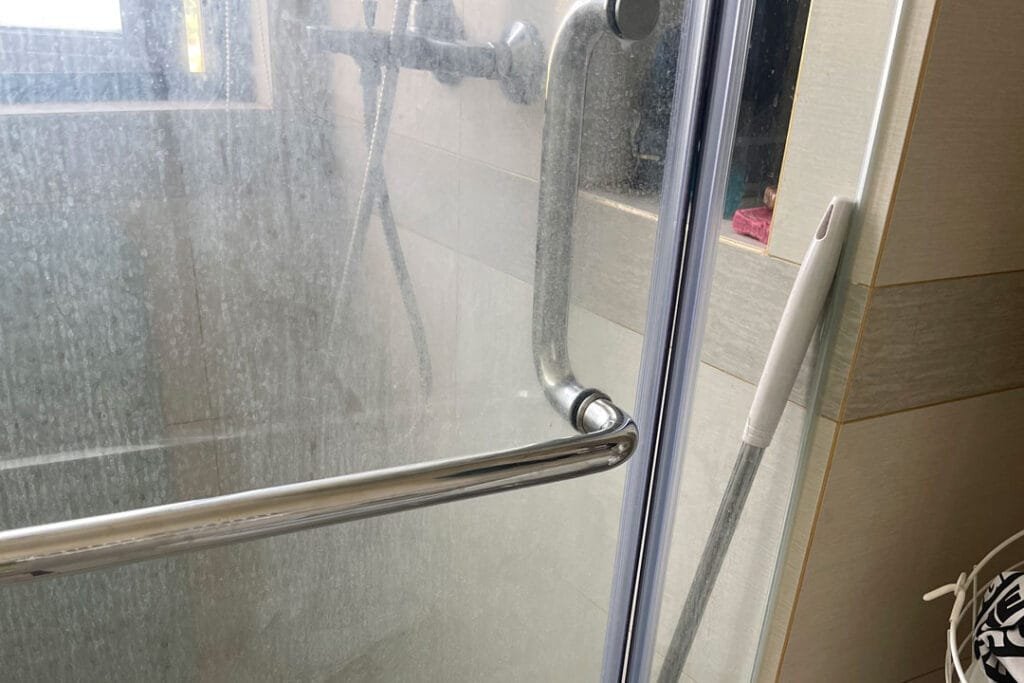
Con el tiempo, los sellos de la puerta de la ducha pueden volverse quebradizos, decolorarse y ser menos efectivos, lo que provoca fugas de agua y la formación antiestética de moho. Reemplazar los sellos de la puerta de la ducha es una forma simple y económica de evitar que se formen charcos en el piso de tu baño y mantener tu ducha limpia y fresca. Esta guía te llevará paso a paso a través del proceso de reemplazo de los sellos de la puerta de la ducha, ya sea que estén envejecidos o hayan comenzado a gotear.
Probablemente necesitarás reemplazar los sellos cada pocos años, pero no te preocupes, es un trabajo fácil que no debería llevarte más de media hora si tienes los materiales adecuados.
¿Por qué es necesario reemplazar los sellos de las puertas de ducha?
Juntas para puertas de ducha son esenciales para mantener el agua dentro de la ducha y evitar fugas en el suelo del cuarto de baño. Con el paso del tiempo, estas juntas pueden:
- Decolorado: La exposición al agua, los restos de jabón y los productos de limpieza pueden hacer que las juntas amarilleen o se manchen.
- FrágilLa exposición constante al agua, el calor y el uso diario pueden hacer que los sellos se agrieten y pierdan flexibilidad.
- IneficazA medida que el sello se deteriora, puede dejar de crear una barrera impermeable, lo que provoca fugas.
Más allá de su propósito funcional, los sellos también pueden volverse visualmente poco atractivos debido a la acumulación de moho y suciedad, que a menudo es difícil de limpiar. Cuando esto sucede, reemplazarlos es la solución más efectiva.
Tipos de sellos para puertas de ducha
La mayoría de las puertas de ducha utilizan dos tipos principales de sellos.
- Sello de labio o de parachoques:Instalado a lo largo de los bordes verticales de la puerta, este sello evita que el agua se escape entre los paneles de vidrio o entre la puerta y la pared de la ducha.
- Sello antigoteo:Colocado en la parte inferior de la puerta, el sello de goteo dirige el agua que corre por el vidrio de regreso a la ducha y sella el espacio entre la puerta y el suelo de la ducha.
Lo que necesitarás
- Sello de labio o parachoques de repuesto (para uno o ambos lados de tu puerta)
- Junta de goteo de repuesto (para el fondo de su puerta)
- Cuchillo de manualidades o tijeras para recortar los nuevos sellos
- Paño húmedo con jabón para limpiar
Guía paso a paso para reemplazar los sellos de la puerta de ducha
Paso 1: Retira los sellos antiguos
Comienza retirando los sellos antiguos de la puerta de tu ducha. Si los sellos se han vuelto quebradizos, deberían salir fácilmente, pero en algunos casos, los depósitos minerales pueden hacer que se adhieran.
- Agarra el sello antiguo:Agarra el borde del sello antiguo y tira hacia afuera. Debería deslizarse fuera de la puerta de vidrio.
- Revisa si hay sujetadoresLa mayoría de los sellos no están pegados ni sujetos, pero si tu sello está adherido con adhesivos o clips, retíralos con cuidado usando una herramienta plana.
Paso 2: Limpia los bordes del vidrio
Una vez retirados los precintos, limpie los bordes del cristal donde estaban fijados los precintos. Utilice un paño húmedo y jabonoso para eliminar la suciedad, el moho o los depósitos minerales que puedan haberse acumulado con el tiempo. Este paso es crucial para garantizar que las nuevas juntas se adhieran correctamente.
Consejo profesional:Si hay moho u hongos alrededor del área del sello, puedes usar una solución de limpieza suave para eliminarlo sin frotar demasiado. Esto ayudará a prevenir el crecimiento futuro de moho.
Paso 3: Mide y corta los nuevos sellos
La mayoría de las puertas de ducha están hechas a medida para ajustarse al espacio disponible, por lo que los sellos suelen venderse en longitudes estándar que deben cortarse para adaptarse. Deberás medir y cortar los sellos de repuesto antes de instalarlos.
- Mide la longitud:Usa una cinta métrica para determinar la longitud exacta del borde de la puerta donde se reemplazará el sello.
- Corta el nuevo sello: Corte la junta de repuesto ligeramente más larga que la longitud medida utilizando tijeras o un cuchillo artesanal. Esto permite realizar cualquier ajuste durante la instalación.
Paso 4: Instala los nuevos sellos
Ahora que has cortado los sellos a la medida, es momento de instalarlos en la puerta de la ducha.
- Sello de labio o de parachoques:Comienza en un extremo de la puerta y presiona el sello en el borde de vidrio. Avanza lentamente hacia abajo aplicando una presión uniforme para asegurarte de que el sello se ajuste bien. Repite este proceso en el otro lado de la puerta si es necesario.
- Sello antigoteoPara el sello inferior, deslízalo sobre el borde del vidrio en la base de la puerta. Algunos sellos de goteo están diseñados para encajar en su lugar, mientras que otros pueden requerir un poco más de esfuerzo para ajustarse de manera segura.
Paso 5: Recorta el exceso de sello
Una vez colocadas las juntas, es probable que quede una pequeña sección de solapamiento al final. Utilice su cuchillo artesanal o tijeras para recortar la junta sobrante de modo que encaje a ras con el borde de la puerta.
Paso 6: Prueba los nuevos sellos
Después de instalar los nuevos sellos, cierra la puerta de la ducha y deja correr el agua para comprobar si hay fugas. Revisa a lo largo de los bordes verticales y en la parte inferior de la puerta para asegurarte de que los sellos sean herméticos. Si es necesario, realiza pequeños ajustes para garantizar un ajuste adecuado.
Problemas Comunes y Soluciones
| Edición | Soluciones |
|---|---|
| El precinto no queda bien ajustado | Asegúrese de que la junta está cortada a la longitud correcta y presiónela firmemente a lo largo del borde del cristal. |
| El agua sigue goteando después de la sustitución | Compruebe que la puerta está bien alineada y que la junta está colocada correctamente. Puede que también necesite aplicar masilla de silicona para una impermeabilización adicional. |
| La junta es difícil de deslizar en la puerta | Calienta ligeramente el precinto con un secador de pelo para que sea más flexible, o aplica un poco de agua jabonosa para que se deslice con más facilidad. |
Mantenimiento de los sellos de la puerta de la ducha
Ahora que los nuevos sellos están instalados, mantenerlos en buenas condiciones prolongará su vida útil y evitará fugas. Aquí tienes algunos consejos de mantenimiento:
- Limpia regularmente:Limpia los sellos semanalmente con un paño húmedo para evitar la acumulación de espuma de jabón y moho.
- Evita los productos químicos agresivos:Los agentes de limpieza fuertes pueden dañar el material del sello, así que utiliza limpiadores suaves.
- Inspecciona anualmente:Revisa los sellos en busca de signos de desgaste o grietas al menos una vez al año y reemplázalos si es necesario.
En conclusión
Reemplazar los sellos de la puerta de la ducha es una tarea rápida y fácil de hacer tú mismo, que puede prevenir fugas de agua y mejorar el aspecto de tu ducha. Siguiendo los pasos descritos en esta guía, puedes asegurarte de que los sellos se instalen correctamente y disfrutar de una experiencia de ducha sin fugas.
Tanto si se trata de un sello de goteo, a junta del parachoques que ya no hace su trabajo, o una combinación de ambos, tomarse el tiempo necesario para sustituir estos componentes mantendrá su cuarto de baño seco y funcional. El mantenimiento regular de sus juntas también prolongará su vida útil y le evitará posibles daños por agua.
¿Has reemplazado los sellos de tu puerta de ducha recientemente? ¡Comparte tus consejos y trucos en los comentarios a continuación!


