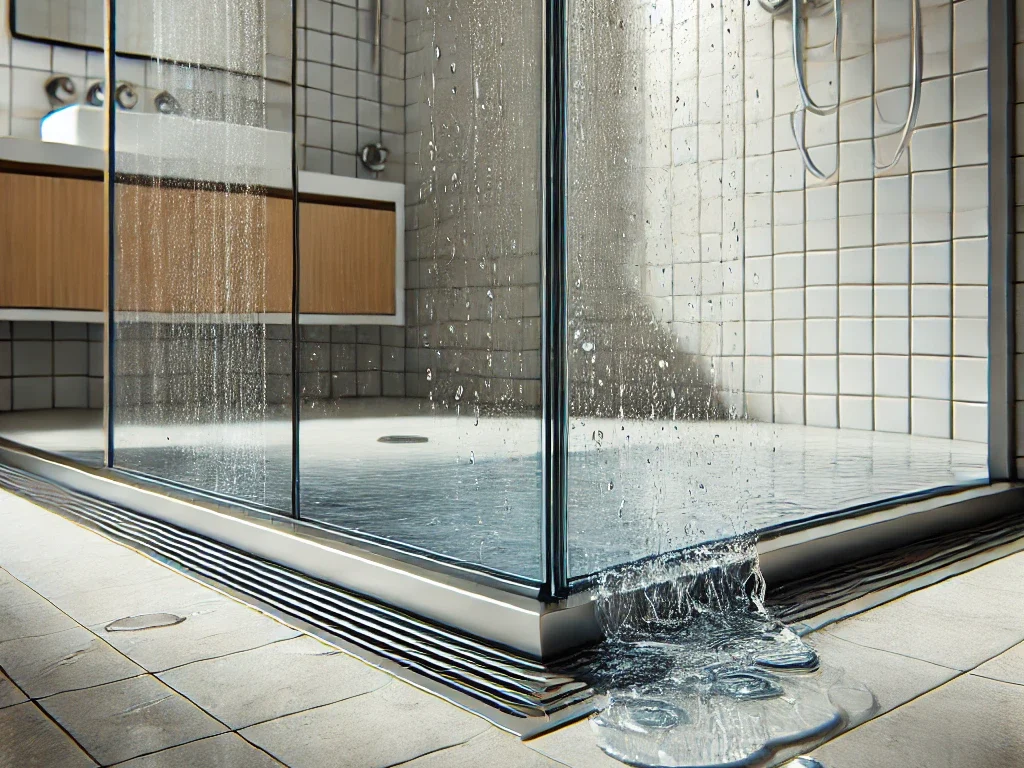
Frameless shower doors are a stylish and modern addition to any bathroom, known for their sleek design and open, minimalist look. However, one common issue that homeowners often encounter with frameless shower doors is leaks at the bottom. These leaks can be frustrating, causing water damage, slippery floors, and mold buildup if not addressed promptly.
In this comprehensive guide, we’ll dive deep into the reasons behind frameless shower door leaks at the bottom, effective solutions to fix the issue, and how to prevent it in the future. Whether you’re a homeowner dealing with this problem or a DIY enthusiast ready to tackle a project, this article will help you find the best approach.
Why Do Frameless Shower Doors Leak at the Bottom?
Frameless shower doors, while visually appealing, often lack the same structural supports as framed doors. This can result in water leaks, especially at the bottom. Below are the most common reasons why this occurs:
1.Worn or Missing Shower Door Seals
Shower door seals are designed to prevent water from escaping the shower area. Over time, these seals can wear down, crack, or shift, leading to gaps where water can seep through.
- Problem: If the bottom seal is damaged or missing, water can escape even with minor splashes.
- Solution: Inspect the seals regularly and replace them when they show signs of wear.
2. Improper Installation
Installation errors are another common cause of leaks. If the frameless shower door isn’t aligned properly or the bottom seal is installed incorrectly, water will likely escape.
- Problem: Misaligned doors create uneven gaps, which make it difficult for seals to perform their function.
- Solution: Ensure the shower door is installed level and aligned. A professional installer can help you avoid these common mistakes.
3. Insufficient or Worn-Out Silicone Caulk
Silicone caulking is often used to seal the edges around the shower door. Over time, this caulk can wear away or deteriorate, leading to water leaks at the bottom.
- Problem: Worn-out silicone no longer prevents water from slipping through joints and corners.
- Solution: Regularly inspect the silicone caulk and reapply as necessary to maintain a watertight seal.
4. Improper Slope of the Shower Threshold
A properly sloped shower threshold directs water back into the shower. However, if the threshold isn’t angled correctly, water can pool near the door and eventually leak out.
- Problem: If the threshold slopes outward, water will naturally flow towards the bottom of the shower door.
- Solution: Re-sloping the threshold to angle it slightly inward can help redirect water back into the shower.
How to Fix Frameless Shower Door Leaks at the Bottom
Once you’ve identified the cause of the leak, it’s time to explore effective solutions. Below are several ways to fix the issue and prevent further water damage.
1. Replace the Bottom Seal
The bottom seal is one of the most critical components in keeping water inside your shower. If it’s worn, cracked, or missing, replacing it can often solve the problem.
Steps to Replace a Bottom Seal:
- Measure the Door: Use a tape measure to determine the length of the shower door.
- Choose the Right Seal: Purchase a compatible seal for your frameless door. Look for clear vinyl or magnetic seals depending on your door design.
- Install the New Seal: Slide the seal onto the door’s edge or clip it into place, ensuring it’s tightly fitted.
2. Adjust the Door Alignment
If the shower door is misaligned, it can cause uneven gaps at the bottom. Carefully adjusting the alignment can reduce or eliminate leaks.
How to Adjust Door Alignment:
- Check Hinges: Tighten or loosen the door hinges to bring the door back into alignment.
- Use a Level: Ensure the door is perfectly straight and level to reduce gaps where water could escape.
- Test for Leaks: After adjusting, test the door by running water and checking for leaks at the bottom.
3. Reapply Silicone Caulk
If the silicone caulking is worn out or missing, reapplying a fresh layer can help seal the edges and prevent water from leaking out.
How to Apply Silicone Caulk:
- Clean the Area: Remove any old caulk and clean the area thoroughly.
- Apply the Caulk: Use a caulk gun to apply a bead of silicone along the seams and edges of the door.
- Smooth the Caulk: Run a damp finger or a caulk smoothing tool along the bead to ensure even application.
- Let it Cure: Allow the silicone to cure for 24 hours before using the shower.
4. Install or Replace the Shower Threshold
If the shower threshold isn’t effectively preventing water from pooling at the base of the door, replacing or installing a new one can be a permanent solution.
Steps for Installing a New Threshold:
- Choose a Sloped Threshold: Select a threshold that slopes inward to keep water directed toward the drain.
- Install with Adhesive: Use waterproof adhesive to securely attach the threshold in place.
- Seal with Silicone: Apply silicone caulk around the edges to prevent water from leaking underneath.
Best Shower Door Seals for Frameless Doors
Choosing the right seal for your frameless shower door can make all the difference when it comes to preventing leaks. Here’s a comparison of the most common types:
| Type of Seal | Characteristics | Best For |
|---|---|---|
| Clear Vinyl Seal | Transparent, flexible, and easy to install | Modern, minimalist designs |
| Magnetic Seal | Creates a tight, secure closure | High-traffic bathrooms, maximum water protection |
| Bottom Sweep Seal | Attaches to the bottom of the door, preventing leaks | Effective for floor-level leaks |
| Drip Rail | Directs water back into the shower | Helps manage water flow at the bottom |
How to Prevent Frameless Shower Door Leaks
Prevention is always better than repair. To keep your frameless shower door from leaking in the future, follow these best practices:
1. Regular Maintenance
Inspect your shower door seals, silicone caulk, and alignment every few months. Catching problems early can save you from dealing with water damage down the road.
2. Use Proper Cleaning Techniques
Harsh chemicals can damage seals and caulk, causing them to degrade faster. Clean your shower door with mild, non-abrasive cleaners to maintain the integrity of the materials.
3. Avoid Excessive Water Pressure
If your shower head delivers water at high pressure, it can force water through small gaps. Adjusting the pressure to a more moderate setting can reduce the risk of leaks.
Frequently Asked Questions (FAQ)
1. How often should I replace my shower door seals?
You should inspect your shower door seals every 6-12 months for signs of wear or cracking. Depending on usage, they may need replacement every 1-2 years.
2. Can I fix a frameless shower door leak myself?
Yes, many leaks can be fixed with basic DIY skills, such as replacing seals, adjusting door alignment, or reapplying silicone caulk. However, if the problem persists, you may want to consult a professional.
3. What if my shower door continues to leak after replacing the seal?
If replacing the seal doesn’t solve the issue, check for other causes such as improper door alignment, a poorly sloped threshold, or worn-out silicone caulk.
Final Thoughts
A frameless shower door adds elegance and modern flair to your bathroom, but leaks at the bottom can detract from the experience. By understanding the causes of leaks, using the right solutions, and practicing preventive maintenance, you can keep your bathroom dry and your shower functioning perfectly.
Whether it’s replacing a worn seal or realigning your door, the steps outlined above provide everything you need to fix frameless shower door leaks at the bottom. Regular checks and maintenance will ensure a long-lasting, leak-free shower experience for years to come.


