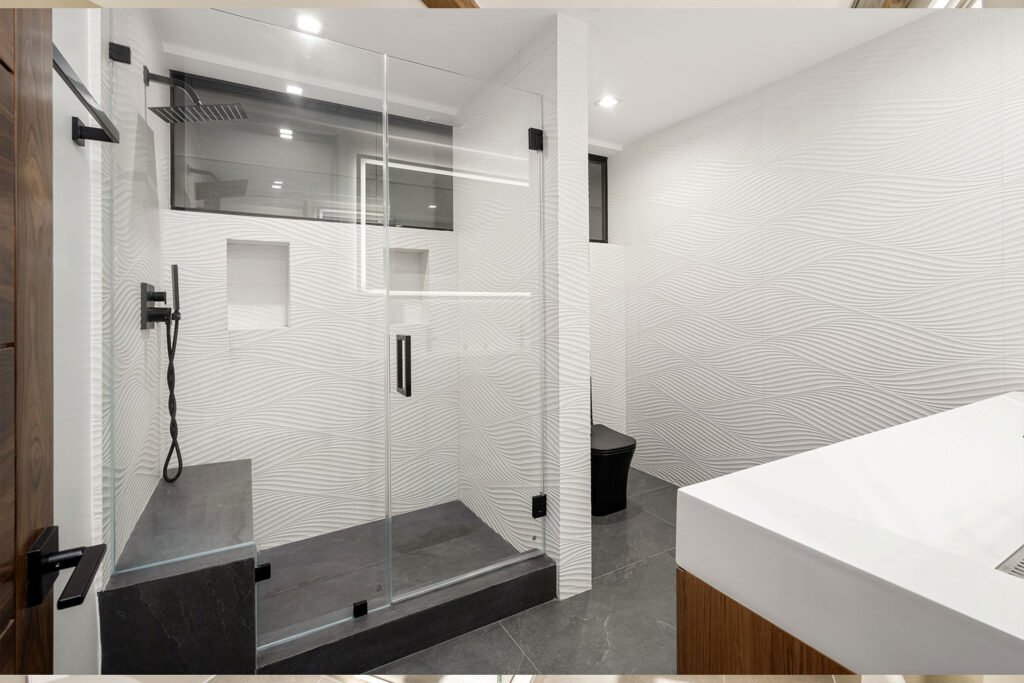
One important maintenance task that can prolong the life and improve functionality of your shower enclosure is replacing the pivot hinge on your shower door. A broken pivot hinge may cause the door to misalign, seal improperly, or possibly sustain damage. We’ll show you how to replace a pivot hinge properly in this guide, so your shower door will function smoothly and effectively.
Determining the Replacement Need
Understanding why and when to replace a pivot hinge is essential before beginning the replacement process:
- Wear and Tear: Regular use over time can cause pivot hinges to wear out and fail or operate less well.
- Damage: The hinge may need to be replaced due to corrosion or unintentional accidents.
- Upgrade: If a newer hinge offers greater features or performance, you might choose to swap out your old one.
How-To Guide: Replace Shower Door Pivot Hinge Step-by-Step
Even though replacing a pivot hinge might seem difficult, you can do it yourself if you have the necessary equipment and a little perseverance. For a seamless installation, adhere to these instructions.
Step 1: Take Out the Old Hinge
- Set Up the Space: Make sure the workspace is dry and clean. After removing the glass door, place a towel or a soft mat on the floor to protect it.
- Take Out the Door: Gently remove the door from its hinge pins or undo any bolts that are securing it to the hinge. It could take help to handle the glass safely.
Step 2: Measure the Old Hinge
- Verify Compatibility: Measure the original hinge’s size with a tape measure. To guarantee that the replacement hinge will fit precisely, take note of the pivot mechanism’s size and style.
Step 3: Get a Fresh Hinge
- Choosing the Correct Hinge: Invest in a new hinge that is identical in size and design to the previous one. Purchasing a hinge that is compatible with both the material of your shower enclosure and the particular shower door model you own is essential.
Step 4: Put the New Hinge in Place
- Position the Hinge: Using the existing holes in the shower wall or tub as a reference, precisely match the new hinge with the old one’s location.
- Fasten the Hinge: To firmly hold the new hinge in place, use the screws or fasteners that came with it. Make sure that everything is securely fastened without being overly tight, as this could lead to component damage.
Step 5: Put the Door Back in
- Attach the Door: Using the included screws or pins, carefully line the door with the new hinge. Make that the door and enclosure are properly level and aligned.
- Check the Door: To ensure smooth operation, open and close the door multiple times. Make any necessary adjustments to get the ideal mobility.
Last Minute Inspections and Upkeep Advice
- Tighten Every Screw: To avoid any movement or sagging, make sure all fasteners are firmly in place.
- Lubricate the Hinge: To guarantee smooth functioning, lubricate the hinge mechanism using a silicone-based product.
- Frequent Inspection: To identify possible problems early, perform routine inspections of the door alignment and hinge.
In summary
The usefulness and safety of your shower enclosure can be greatly enhanced by replacing the pivot hinge on your shower door. These comprehensive instructions will help you guarantee a smooth installation and provide you a shower door that works perfectly. Always remember that getting advice from an expert or the manufacturer’s instructions can help allay concerns and guarantee that the task is completed correctly.


