Installing a glass shower door handle is a simple yet precise task that can significantly enhance the functionality and aesthetics of your bathroom. Whether you’re repairing an old handle or finishing a new installation, knowing the proper technique is essential to guaranteeing a firm, secure fit. To ensure a proper installation of different designs and sizes of glass shower door knobs, this guide will take you step-by-step through the process.
Choosing the Right Glass Shower Door Handle
Make sure the handle you choose fits your needs and blends in with the style of your bathroom before beginning the installation process.
Types of Handles:
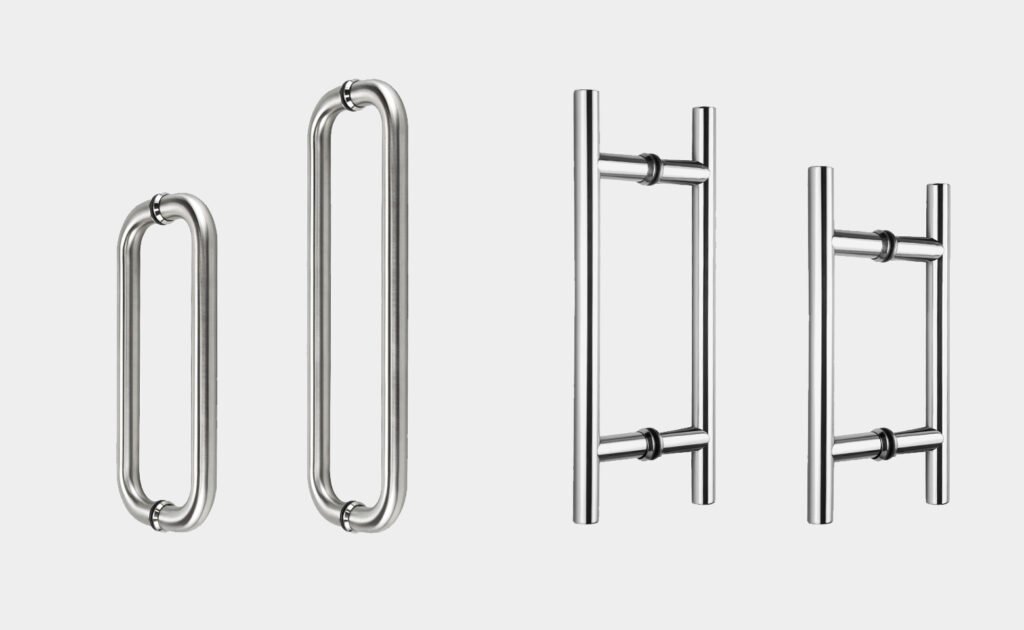
- Back-to-Back Handles: consists of two handles that are fastened to the sides of the glass door, exactly across from one another.
- Single Mounting Handles: Independently operated, these are mounted on one side of the door.
Material Choices:
- Hollow vs. Solid Handles: Hollow handles are lighter and more manageable, while solid handles are usually heavier and may give a more substantial feel.
Shape and Style:
- Design Variety: Handles might be square, circular, H-shaped, or formed like an arch. Select a design that complements both your personal taste and the décor of your bathroom.
Consideration:
Tempered Glass Limitations: Keep in mind that handles must line up with pre-drilled holes because tempered glass cannot be cut or drilled after tempering.

Installation Steps for Glass Shower Door Handles
To guarantee that your new shower door handle is fixed accurately and securely, follow these comprehensive instructions.
Step 1: Preparing for Installation
- Punching Holes: Make sure the holes necessary for your glass shower door are already drilled; they are usually done when the glass is cut. To ensure that the handle fits tightly, the hole size should be reduced at first and then modified as needed.
Step 2: Adhesive Application
- Glueing: Use an appropriate quantity of glass glue to seal the glass shower door’s hole’s edges. This keeps water out of the handle and helps hold it in place.
Step 3: Fixing the Handle
- Secure Attachment: Use gentle tape to enclose the handle’s insertion portion. This guarantees a snug fit while shielding the glass from scratches. To ensure that the handle is securely fastened in place, assemble it so that it rests flush against the glass and tighten the fastening screws.
Step 4: Final Adjustments
- Adjustments for Non-Tempered Glass: Take precise measurements and indicate the hole distance for the handle if you’re using non-tempered glass. Make the holes with a 10 mm glass drill bit, being careful to keep the surface damp to prevent heat buildup from friction. To improve security and aesthetics, install the handle from the outside in a manner that secures it without leaving any exposed screws.
Final Thoughts
It is simple to install a glass shower door handle if you prepare ahead and pay close attention to the little things. You may improve the appearance and use of your shower door by selecting the appropriate handle and carrying out the installation instructions correctly. Recall that a properly installed handle guarantees a safe and comfortable experience in addition to improving the aesthetic appeal of your bathroom. Visit our blog frequently for more do-it-yourself advice and bathroom makeover ideas, or contact our support team for tailored guidance.


