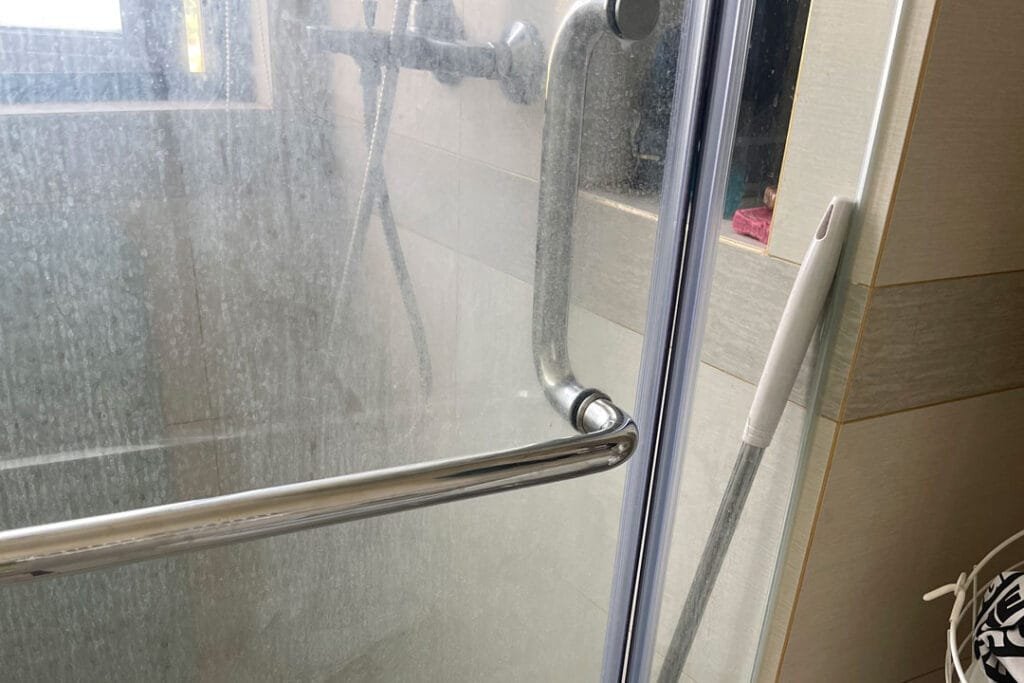
Over time, the seals on your shower door can become brittle, discolored, and less effective, leading to water leaks and unsightly mildew buildup. Replacing your shower door seals is a simple and affordable way to prevent puddles from forming on your bathroom floor and keep your shower looking clean and fresh. This guide will walk you through the process of replacing your shower door seals, whether they’re looking old or have started to leak.
You’ll likely need to replace your seals every few years, but don’t worry—it’s an easy job that should take no more than half an hour if you have the right materials.
Why Do Shower Door Seals Need Replacing?
Shower door seals are essential for keeping water inside the shower and preventing leaks onto your bathroom floor. Over time, these seals can become:
- Discolored: Exposure to water, soap scum, and cleaning products can cause seals to yellow or stain.
- Brittle: Constant water exposure, heat, and daily use can cause seals to crack and lose flexibility.
- Ineffective: As the seal deteriorates, it may no longer create a watertight barrier, leading to leaks.
Beyond their functional purpose, seals can also become visually unappealing due to mildew and dirt buildup, which is often difficult to clean. When this happens, replacing them is the most effective solution.
Types of Shower Door Seals
Most shower doors use two main types of seals:
- Lip or Bumper Seal: Installed along the vertical edges of the door, this seal prevents water from escaping between the glass panels or between the door and the shower wall.
- Drip Seal: Positioned at the bottom of the door, the drip seal directs water running down the glass back into the shower and seals the gap between the door and the shower floor.
What You'll Need
- Replacement lip or bumper seal (for one or both sides of your door)
- Replacement drip seal (for the bottom of your door)
- Craft knife or scissors to trim the new seals
- Damp soapy cloth for cleaning
Step-by-Step Guide to Replacing Your Shower Door Seals
Step 1: Remove the Old Seals
Start by removing the old seals from your shower door. If the seals have become brittle, they should come off easily, but in some cases, mineral deposits may cause them to stick.
- Grip the old seal: Grab onto the edge of the old seal and pull it outward. It should slide off the glass door.
- Check for fasteners: Most seals aren’t glued or fastened, but if your seal is attached with adhesives or clips, carefully pry them off using a flat tool.
Step 2: Clean the Edges of the Glass
After removing the seals, clean the edges of the glass where the seals were attached. Use a damp, soapy cloth to wipe away any dirt, mildew, or mineral deposits that may have built up over time. This step is crucial to ensure the new seals adhere properly.
Pro Tip: If there is mold or mildew around the seal area, you can use a mild cleaning solution to remove it without harsh scrubbing. This will help prevent future mold growth.
Step 3: Measure and Cut the New Seals
Most shower doors are custom-built to fit the available space, so seals are often sold in standard lengths that need to be cut to fit. You’ll need to measure and cut the replacement seals before installing them.
- Measure the length: Use a tape measure to determine the exact length of the door’s edge where the seal will be replaced.
- Cut the new seal: Cut the replacement seal slightly longer than the measured length using scissors or a craft knife. This allows for any adjustments during installation.
Step 4: Install the New Seals
Now that you’ve cut the seals to size, it’s time to install them on the shower door.
- Lip or Bumper Seal: Start at one end of the door and press the seal onto the glass edge. Slowly work your way down the door, applying even pressure to ensure the seal fits snugly. Repeat this process for the other side of the door if needed.
- Drip Seal: For the bottom seal, slide it onto the edge of the glass at the base of the door. Some drip seals are designed to snap into place, while others may require a bit more effort to fit securely.
Step 5: Trim the Excess Seal
Once the seals are in place, you’ll likely have a small section of overlap at the end. Use your craft knife or scissors to trim the excess seal so that it fits flush with the edge of the door.
Step 6: Test the New Seals
After installing the new seals, close the shower door and run the water to test for any leaks. Check along the vertical edges and the bottom of the door to ensure the seals are watertight. If necessary, make slight adjustments to ensure a snug fit.
Common Issues and Solutions
| Issue | Solution |
|---|---|
| The seal doesn’t fit tightly | Ensure the seal is cut to the correct length and press it firmly along the edge of the glass. |
| Water is still leaking after replacement | Check that the door is properly aligned and the seal is correctly positioned. You may also need to apply silicone caulk for additional waterproofing. |
| The seal is difficult to slide onto the door | Warm the seal slightly with a hairdryer to make it more flexible, or apply a bit of soapy water to help it slide on more easily. |
Maintaining Your Shower Door Seals
Now that your new seals are installed, keeping them in good condition will prolong their lifespan and prevent leaks. Here are some maintenance tips:
- Clean regularly: Wipe down the seals weekly with a damp cloth to prevent soap scum and mold buildup.
- Avoid harsh chemicals: Strong cleaning agents can damage the seal material, so stick to mild cleaners.
- Inspect annually: Check your seals for signs of wear or cracking at least once a year, and replace them as needed.
Conclusion
Replacing your shower door seals is a quick and easy DIY task that can prevent water leaks and improve the look of your shower. By following the steps outlined in this guide, you can ensure your seals are installed correctly and enjoy a leak-free shower experience.
Whether you’re dealing with an old drip seal, a bumper seal that’s no longer doing its job, or a combination of both, taking the time to replace these components will keep your bathroom dry and functional. Regularly maintaining your seals will also extend their life and save you from potential water damage.
Have you replaced your shower door seals recently? Share your tips and tricks in the comments below!


