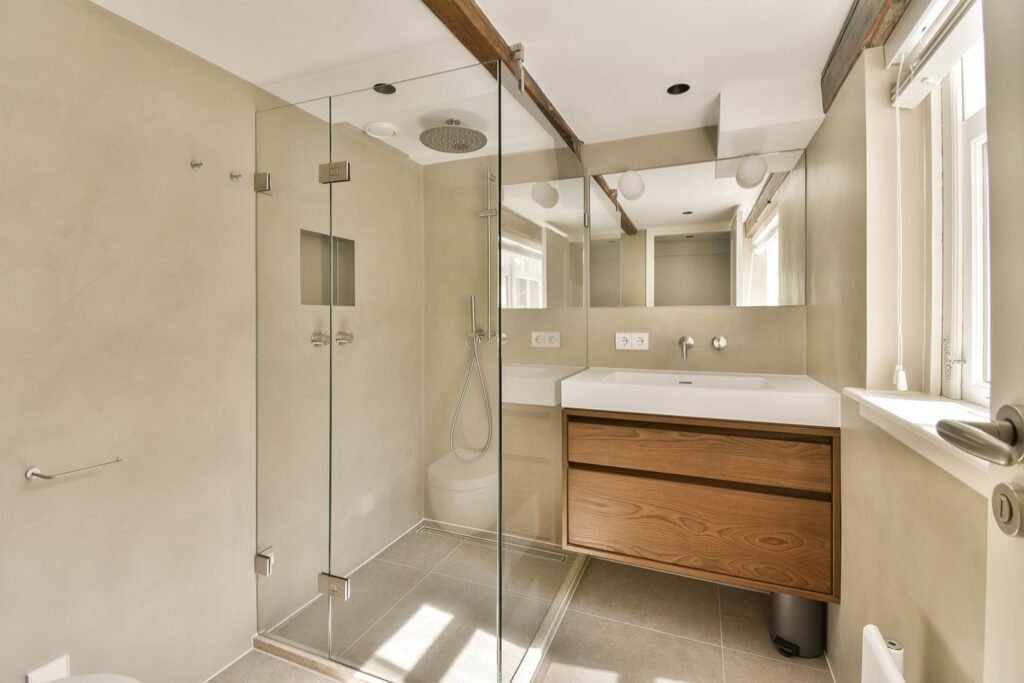
Frameless glass shower doors are a trademark of contemporary bathroom design, prized for their streamlined and simple appearance. However, it’s necessary to periodically adjust the frameless glass hinges to preserve their flawless appearance and functionality. A well-adjusted hinge guarantees seamless operation and proper alignment of your shower door with the enclosure. This post will walk you through the easy procedures for adjusting the hinges on your frameless glass shower door to ensure maximum longevity and functionality.
Recognizing the Significance of Accurate Hinge Adjustment
Before making any changes, it’s critical to understand why maintaining the proper adjustment of your frameless shower door hinges is essential:
- Avoids Damage: An accurate adjustment lowers the chance of damage by preventing excessive strain on the glass and hinges.
- Improves Functionality: Proper alignment guarantees effortless opening and shutting.
- Improves Aesthetics: Your shower enclosure looks better overall, with even gaps surrounding the door.
How to Adjust the Hinges on Your Shower Door Step-by-Step
If you attentively follow these procedures, adjusting your frameless glass shower door can be a basic process.
1. Find the Screws for Adjustment
- Where to Find: Look for tiny holes or slots in the hinge bracket or hinge sides; these contain the adjustment screws.
- Tools You Might Need: If these screws are not readily visible, a flashlight may be useful in finding them.
2. Tighten the Fasteners
- Appropriate Tools: Make sure you have an Allen wrench or screwdriver that fits the screws properly.
- Warning : Make sure the screws are not completely removed by loosening them just enough to slide the door.
3. Modify the Door's Location
- Door Misalignment: If the door is not level, elevate or lower it by adjusting the screws.
- For Continuous Hinges: To alter the door’s angle, adjust the top or bottom screw.
- For Pivot Hinges: Adjust the top and bottom screws independently to level the door.
4. Examine the Door's Movement
- Smooth Operation: To check for any resistance or friction, open and close the door multiple times.
- Additional Adjustments: Try adjusting again until the door moves as smoothly as you would like it to.
5. Screws tightening
- Securing the Adjustment: To lock the door in place, tighten the screws after you’re happy with the alignment.
- Avoid Overtightening: This may cause the hinge and glass to break or peel the screws.
6. Verify the Door's Alignment
- Final Inspection: Verify that all of the door’s edges have consistent gaps and that the door and enclosure are correctly aligned.
- Regular Checks: Over time, routine inspections will aid in keeping the alignment.
Final Thought
An important maintenance task that prolongs the life of your frameless glass shower door and improves the functionality and aesthetics of your bathroom is adjusting the hinges. You can guarantee that your shower door stays in excellent condition and offers a smooth combination of performance and elegance by following these easy procedures. In addition to keeping your shower door operating smoothly, regular maintenance and appropriate changes will enhance the overall appeal and value of your bathroom.
It should be noted that the location of the adjustment screws and the type of mechanism for adjusting the hinge may vary based on the make and model of your shower door. If you’re unsure whether to change it, it’s a good idea to refer to the manufacturer’s instructions or a specialist.


